# 1. 前言
HTTP 协议中,在请求headers中有个Authorization属性,该属性里包含了服务器用于验证用户代理身份的凭证,通常会在服务器返回401 Unauthorized 状态码以及WWW-Authenticate 消息头之后在后续请求中发送此消息头,详细信息可以查看这里 (opens new window)。
在官方axios中,允许用户在请求配置对象config中配置auth属性,该属性是一个对象结构,包含了 username 和 password 两个属性。当用户在请求的时候配置了这两个属性,axios就会自动往 HTTP 的请求 headers 中添加 Authorization 属性,它的值为 username:password 经过base64 加密后的结果。
本篇文章我们就来为我们的axios的请求配置对象上添加auth属性,并且在发送请求前判断用户是否配置了该属性,如果配置了就把它经过base64 加密后添加到请求 headers 中的 Authorization 属性上。
# 2. 向请求配置对象添加属性
在请求配置对象config中添加 auth 属性之前,我们需要先在src/types/index.ts中的配置对象的接口类型定义AxiosRequestConfig上添加该属性的定义,如下:
export interface AxiosRequestConfig {
  // 新增
  auth?: AxiosBasicCredentials;
}

export interface AxiosBasicCredentials {
  username: string;
  password: string;
}
2
3
4
5
6
7
8
9
# 3. 把属性添加到 headers 上
添加好以后,我们只需在发送请求之前判断用户是否配置了该属性,如果配置了就把该属性经过base64 加密后添加到请求 headers 中的 Authorization 属性上。
// src/core/xhr.ts

const {
  // 新增
  auth,
} = config;

if (auth) {
  const username = auth.username || "";
  const password = auth.password || "";
  headers["Authorization"] = "Basic " + btoa(username + ":" + password);
}
2
3
4
5
6
7
8
9
10
11
12
OK,auth属性就添加好了,是不是很简单?接下来,我们就来编写demo来测试下效果如何。
# 4. demo 编写
在 examples 目录下创建 HTTPAuthorization目录,在 HTTPAuthorization目录下创建 index.html:
<!DOCTYPE html>
<html lang="en">
  <head>
    <meta charset="UTF-8" />
    <title>HTTPAuthorization demo</title>
  </head>
  <body>
    <script src="/__build__/HTTPAuthorization.js"></script>
  </body>
</html>
2
3
4
5
6
7
8
9
10
接着再创建 app.ts 作为入口文件:
import axios from "../../src/axios";

axios
  .get("/api/HTTPAuthorization", {
    auth: {
      username: "NLRX",
      password: "123456",
    },
  })
  .then((res) => {
    console.log(res);
  });
2
3
4
5
6
7
8
9
10
11
12
接着在 server/server.js 添加新的接口路由:
const atob = require("atob");
// 添加HTTP授权
router.get("/api/HTTPAuthorization", function(req, res) {
  const auth = req.headers.authorization;
  const [type, credentials] = auth.split(" ");
  const [username, password] = atob(credentials).split(":");
  res.json({
    type: type,
    username: username,
    password: password,
  });
});
2
3
4
5
6
7
8
9
10
11
12
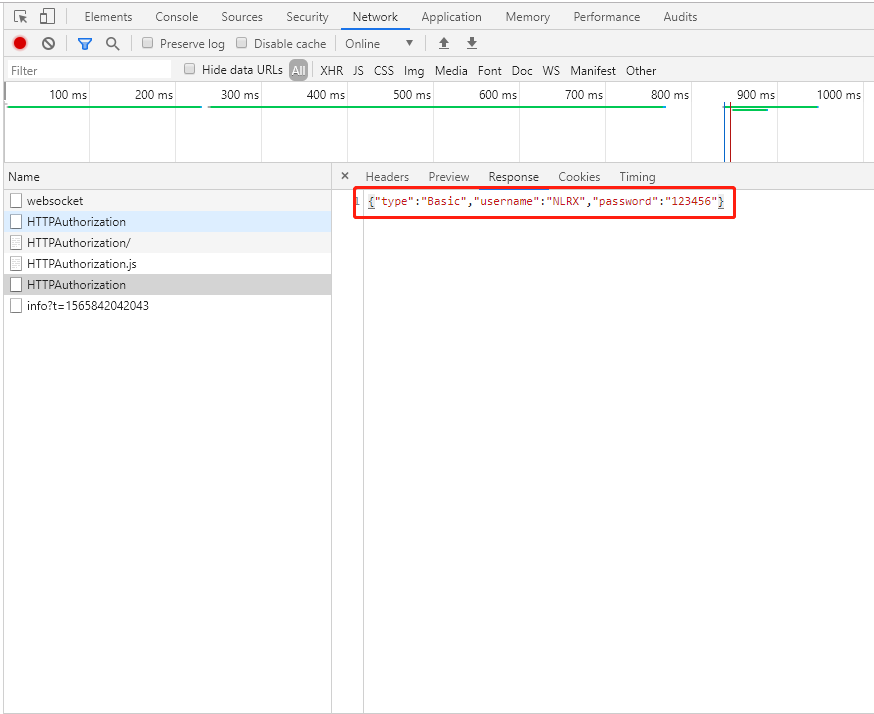
在服务端路由接口中,我们将收到的auth使用第三方库atob进行Base64解码,然后将验证类型、username、password分别取出来,返回给前端。
最后在根目录下的index.html中加上启动该demo的入口:
<li><a href="examples/HTTPAuthorization">HTTPAuthorization</a></li>
OK,我们在命令行中执行:
# 同时开启客户端和服务端
npm run server | npm start
2
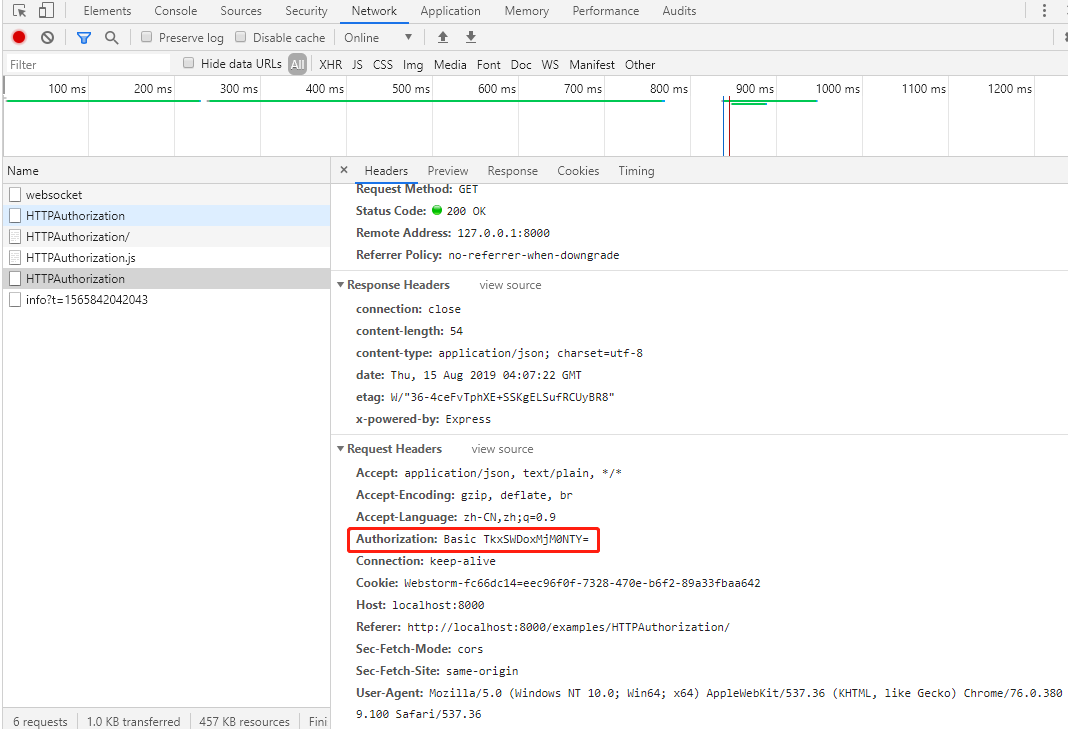
接着我们打开 chrome 浏览器,访问 http://localhost:8000/ (opens new window) 即可访问我们的 demo 了,我们点击 HTTPAuthorization,就可以看到请求已经正常发出,并且在请求的headers中添加上了Authorization字段,并且字段值是经过Base64加密后的值,我们在服务端进行base64解码,然后将验证类型、username、password分别取出来返回给前端,我们在请求响应中看到解密后的信息就是我们发请求是加密的信息。
OK,以上就是为我们的axios添加 HTTP 授权auth属性。